Shuttle Sh67 Xpc Desktop Shuttle Sh67 Xpc Desktop Review
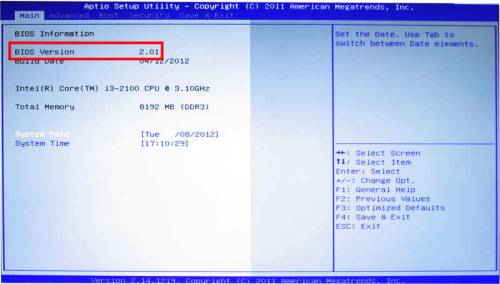
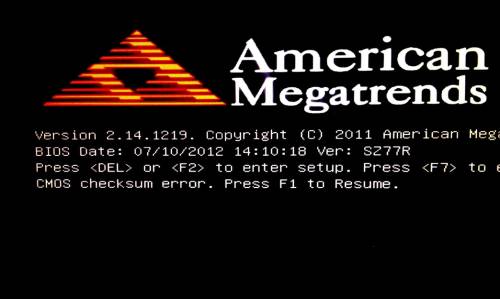
Please start your PC and press the [DEL] or [F2] key while booting to enter the BIOS setup program. The BIOS version is shown in the second line on the main screen.
Just as with many modernistic PCs, a electric current Shuttle XPC does away completely with a BIOS but uses a pure UEFI firmware instead. The terms UEFI firmware and BIOS are widely used synonymously, simply hardware initialising is now performed by the UEFI. Users might not even notice, but the operating system must exist installed and executed in UEFI manner. UEFI creates a GUID Partition Tabular array (GPT) on the system partition instead of a Master Kick Record (MBR). A PC running pure UEFI firmware alone must take a 64-bit operating system installed.
Warning: Please exist sure that there are no other USB devices continued to your system during formatting similar external hard disks, external optical devices or other USB flash drives. This ensures that you lot only format the selected USB flash drive.
-
Please run Rufus.exe.
-
Select your USB flash drive, and press the First button, and so ostend the following Warning popup.

-
Unpack the ZIP file into an empty folder.
-
Copy the subfolder "DOS" to a bootable USB stick with DOS operating system.
-
Boot from the USB stick and change to the subfolder "DOS".
-
Execute the Flash.BAT file.
-
The update process starts automatically. The organisation will reboot automatically.
-
Once reboot is completed, delight enter the BIOS setup programme by pressing the "Del" or "F2" key and load the "Default Settings" (F3), then confirm by hitting Save & Exit.
-
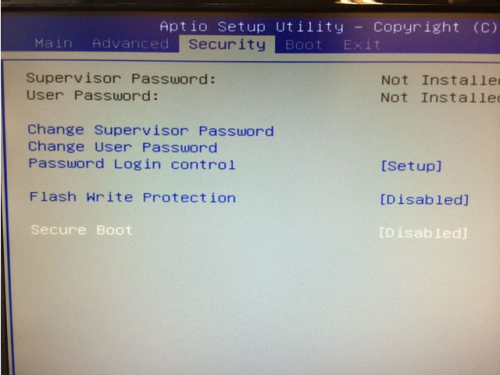
Make certain the BIOS pick Secure Kick is disabled.
-
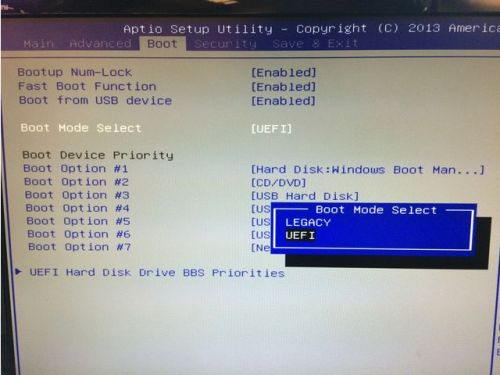
Change "Boot Mode Select" to UEFI
-
Unpack the Goose egg file into an empty folder.
-
Copy the subfolders
EFI,Beat outand the filestartup.nshto a USB stick, formatted in FAT32.

-
Boot from the USB stick. You may have to press
F7for boot device pick. Pick the USB drive containing the files. -
The update will start automatically. The system will reboot afterwards.
-
One time reboot is completed, please enter the BIOS setup program by pressing the
DelorF2central and load the "Default Settings" (F3), then confirm past striking Save & Go out.
-
Insert your USB wink bulldoze into 1 of the USB Ports.
-
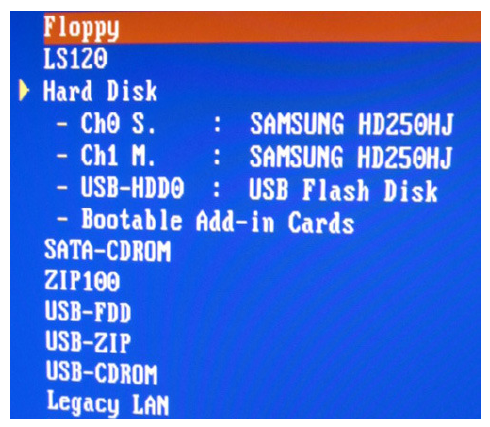
During boot process, printing ESC (or F11 or F7) to enter the boot menu.
-
Select the USB-HDD or the relevant USB-Null (depending on the model of the USB flash drive, information technology may vary). On our latest XPC Barebones models, yous volition notice your USB flash drive, if detected correctly, listed right below your difficult disks.
-
Press the Return key to boot from your USB flash drive.
Where and how tin I clear CMOS?
All settings and parameters divers in the BIOS are stored in CMOS. To delete these settings and reset CMOS, follow the instructions below.
The instructions show examples of where the button or jumper to clear your auto's CMOS is located on different models. If you tin't notice the button/jumper on your model, more detailed data on type and position tin can be found in the Quick Guide (QIG) that came with your machine.
Remove the mains plug and reset/press the jumper/push for approx. 10 seconds. You lot may need to use a pointed object such as a ballpoint pen to push the push button. After clearing CMOS, beginning upwards the calculator and load "Optimized Defaults" in BIOS, save and restart.
![]()
Articulate CMOS jumper on the mainboard
![]()
Clear CMOS button on the back of the motorcar (small opening bottom right)
![]()
Clear CMOS button on the back of the machine (small opening top left)
![]()
4 pins on the back of the auto (remove power string and short them with a Phillips head screwdriver)
This is a characteristic on the mainboard that protects the BIOS from existence flashed accidentally. It is called BIOS flash protection. Please disable this function with either a hardware jumper setting or with the CMOS Setup Utility. Delight refer to the transmission for more details on how to disable flash protection.
First, please download the latest BIOS file from our download page, then proceed with the beneath instructions footstep past stride.
Delight double-check that all drivers are installed.
Since a background software, similar an Anti-Virus programme, may affect the update process negatively and may lead to a failing flash process, we suggest to update the BIOS in DOS or UEFI mode instead of Windows.
-
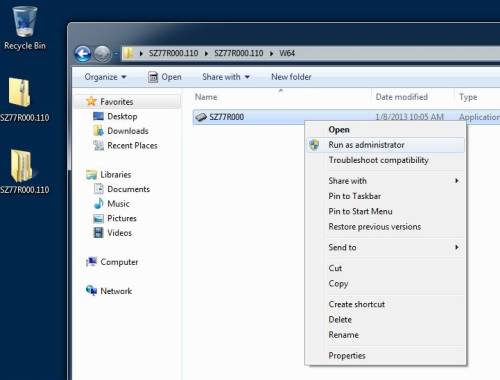
Please unzip the BIOS file yous just downloaded.
-
Right-click on the BIOS file and select "Run as administrator" to start the flash tool.
-
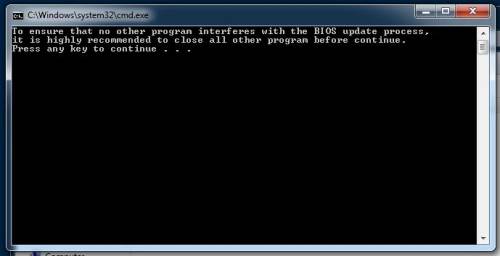
Please printing any key to continue when the below page pops up.
-
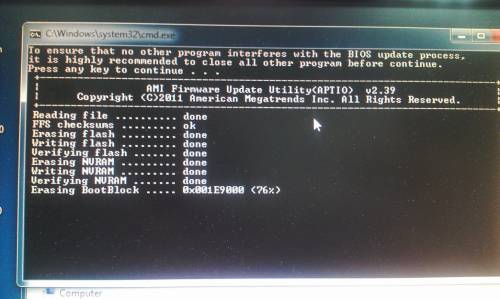
Await for the update to consummate and do not shut the window.
-
Once the wink process is completed, the computer automatically reboots. Please and then press the "F1" fundamental to go along and so "Del" to enter the BIOS setup bill of fare.
-
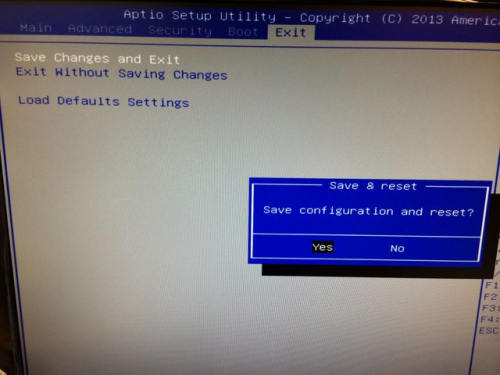
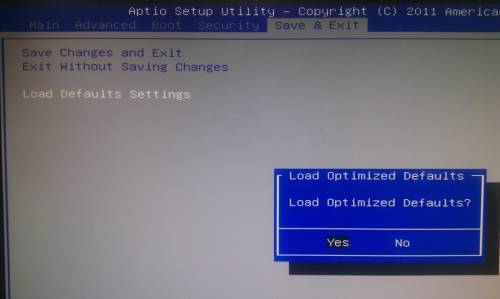
Delight press the right arrow cardinal to navigate to the "Save & Exit" tab and select "Load Defaults Settings", so hit "Yeah".
-
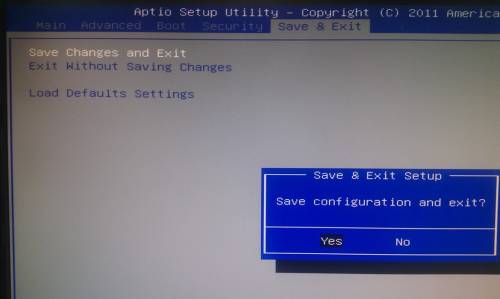
Please select the "Salvage Changes and Exit" option, and press "Yes" to save configurations.
-
Now a re-start volition be performed.
-
Complete.
-
Please go to the relevant download page and download the FUWIN tool.
-
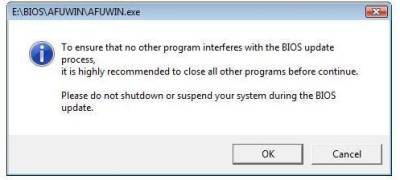
Extract and run the AFUWIN tool as administrator.

-
Read the message and close all other programmes, then printing Ok.
-
Please choose open file.

-
Please open your BIOS ROM file.
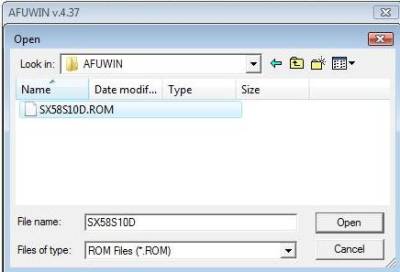
-
Please make sure the option "Program All Blocks" is checked. And so press "Flash".
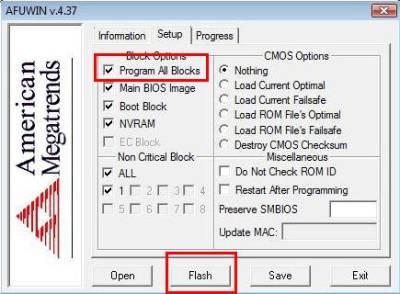
-
The flash process finishes.
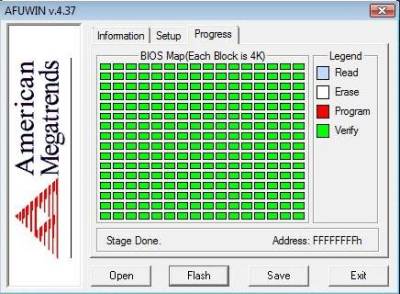
-
At present, delight reboot your machine, then enter BIOS and load the Default Settings.
-
Relieve to CMOS and Leave.
-
Equally a first footstep, please enter BIOS by pressing the
Delkey while booting. -
Navigate to the tab Advanced.
-
Go to Power Management Configuration
-
Now set EuP Office to Disabled to allow for further settings to be made.
-
Proceed to setting PowerOn by RTC Alarm to Enabled so a specific fourth dimension can be defined for the device to start.
Delight annotation that if the EuP function is deactivated, free energy consumption may exist college in idle manner.
Connected USB devices can wake the PC from sleep mode (S3). However, a common cold start (if the PC was close downwards earlier) is non possible in this way.
If you have a Shuttle Mini-PC with an external power push connectedness, this can be used for a cold commencement.
-
As a first step, delight enter BIOS by pressing the
Delkey while booting. -
Navigate to the tab Avant-garde.
-
At present please set Wake Up by USB (S3) to Enabled so the PC can exist woken from S3 mode.
Please note that this may not work with all USB input devices.
Source: https://faq.shuttle.eu/faq:hardware:bios
Post a Comment for "Shuttle Sh67 Xpc Desktop Shuttle Sh67 Xpc Desktop Review"